오늘만에 제대로 된 개발 이야기를 적어 보겠습니다. 한동안 외주 프로젝트에 참여를 하고 있어서 마음에 여유가 없었던 탓이기도 하고, 게으른 탓이기도 하겠지만, 개발이야기는 적어 보지 못했습니다. 그동안 눈팅(?)하던 jetpack compose 이야기에서 애니메이션이 가미된 navigation bar을 만들어 보겠습니다.
https://medium.com/proandroiddev/jetpack-compose-tutorial-animated-navigation-bar-354411c679c8
Jetpack Compose Tutorial: Animated Navigation Bar
How to implement a navigation bar with smooth custom animations
proandroiddev.com
원작자의 이야기는 여기에서 보실 수 있습니다. 영문 버전으로 이해를 해야 하기에 나름의 고충(?)도 있을 수 있으나, 이런 정도는 번역기가 잘 번역을 해 줍니다.
이글의 이야기들을 읽다 보면 마치 무슨 수학 함수를 풀어내야만 하는 것 처럼 보이기도 합니다. 아무튼... 다이내믹한 뭔가를 얻어 내는 데, 무한한 노력이 필요해 보이기는 합니다.
//AnimatedNavigationBar
implementation("com.exyte:animated-navigation-bar:1.0.0")
애니메이션 네비게이트를 활용하기 위해서 gradle 파일에 추가를 했습니다.
이번에는 메뉴에 표시할 항목등을 만들어 보도록 하겠습니다. 여러개를 만들어 낼 수 도 있지만, 예시에서는 메뉴 항목이 5개인 것을 구현해 보겠습니다.
import androidx.annotation.DrawableRes
import androidx.annotation.StringRes
import androidx.compose.animation.core.tween
import androidx.compose.runtime.Stable
import com.billcorea.bluetooth627.R

@Stable
data class Item(
    @DrawableRes val icon: Int,
    var isSelected: Boolean,
    @StringRes val description: Int,
    val animationType: ColorButtonAnimation = BellColorButton(
        tween(500),
        background = ButtonBackground(R.drawable.plus)
    ),
)

val dropletButtons = listOf(
    Item(
        icon = R.drawable.home,
        isSelected = false,
        description = R.string.Home
    ),
    Item(
        icon = R.drawable.bell,
        isSelected = false,
        description = R.string.Bell
    ),
    Item(
        icon = R.drawable.message_buble,
        isSelected = false,
        description = R.string.Message
    ),
    Item(
        icon = R.drawable.heart,
        isSelected = false,
        description = R.string.Heart
    ),
    Item(
        icon = R.drawable.outline_menu_24,
        isSelected = false,
        description = R.string.Menu
    ),

)
이렇게 메뉴에 들어갈 항목을 만들어 보았습니다. 다만, 여기서 알 수 없는 것은 BellColorButton 이 위에서 implemention에서 가져오지 못한 다는 것입니다. 알 수 없는 일이기도 합니다. 아무튼 그것에 관련된 코드 부분은 github에 있는 project 파일에서 가져왔음을 밝혀 둡니다.
import androidx.compose.animation.animateColorAsState
import androidx.compose.animation.core.FiniteAnimationSpec
import androidx.compose.animation.core.animateFloatAsState
import androidx.compose.animation.core.tween
import androidx.compose.material3.Icon
import androidx.compose.runtime.Composable
import androidx.compose.ui.Modifier
import androidx.compose.ui.graphics.Color
import androidx.compose.ui.res.painterResource
import com.exyte.animatednavbar.utils.rotationWithTopCenterAnchor
import kotlin.math.PI
import kotlin.math.sin

class BellColorButton(
    override val animationSpec: FiniteAnimationSpec<Float> = tween(),
    override val background: ButtonBackground,
    private val maxDegrees: Float = 30f,
) : ColorButtonAnimation(animationSpec, background) {

    @Composable
    override fun AnimatingIcon(
        modifier: Modifier,
        isSelected: Boolean,
        isFromLeft: Boolean,
        icon: Int,
    ) {
        val rotationFraction = animateFloatAsState(
            targetValue = if (isSelected) 1f else 0f,
            animationSpec = animationSpec,
            label = "rotationFractionAnimation"
        )

        val color = animateColorAsState(
            targetValue = if (isSelected) Color.Black else Color.LightGray,
            label = "colorAnimation"
        )

        Icon(
            modifier = modifier
                .rotationWithTopCenterAnchor(
                    if (isSelected) degreesRotationInterpolation(
                        maxDegrees,
                        rotationFraction.value
                    ) else 0f
                ),
            painter = painterResource(id = icon),
            contentDescription = null,
            tint = color.value
        )
    }

    private fun degreesRotationInterpolation(maxDegrees: Float, fraction: Float) =
        sin(fraction * 2 * PI).toFloat() * maxDegrees
}
import androidx.annotation.DrawableRes
import androidx.compose.animation.core.FiniteAnimationSpec
import androidx.compose.animation.core.tween
import androidx.compose.runtime.Composable
import androidx.compose.runtime.Stable
import androidx.compose.ui.Modifier
import androidx.compose.ui.unit.DpOffset
data class ButtonBackground(
@DrawableRes val icon: Int,
val offset: DpOffset = DpOffset.Zero
)
@Stable
abstract class ColorButtonAnimation(
open val animationSpec: FiniteAnimationSpec<Float> = tween(10000),
open val background: ButtonBackground,
) {
@Composable
abstract fun AnimatingIcon(
modifier: Modifier,
isSelected: Boolean,
isFromLeft: Boolean,
icon: Int,
)
}이렇게 이번 project 에서 가져다 사용할 것만 추려서 가져왔습니다. 하단바 메뉴를 구현해 보겠습니다.
import android.util.Log
import android.view.animation.OvershootInterpolator
import androidx.annotation.StringRes
import androidx.compose.animation.core.LinearEasing
import androidx.compose.animation.core.LinearOutSlowInEasing
import androidx.compose.animation.core.tween
import androidx.compose.foundation.layout.fillMaxSize
import androidx.compose.foundation.layout.height
import androidx.compose.foundation.layout.padding
import androidx.compose.runtime.Composable
import androidx.compose.runtime.getValue
import androidx.compose.runtime.mutableStateOf
import androidx.compose.runtime.remember
import androidx.compose.runtime.setValue
import androidx.compose.ui.Modifier
import androidx.compose.ui.graphics.Color
import androidx.compose.ui.res.stringResource
import androidx.compose.ui.unit.dp
import androidx.navigation.NavHostController
import com.billcorea.bluetooth627.DoubleDuration
import com.billcorea.bluetooth627.Duration
import com.billcorea.bluetooth627.R
import com.billcorea.bluetooth627.composes.destinations.AuthorSettingScreenDestination
import com.billcorea.bluetooth627.composes.destinations.DirectionDestination
import com.billcorea.bluetooth627.composes.destinations.MainScreenDestination
import com.billcorea.bluetooth627.ui.theme.Purple
import com.billcorea.bluetooth627.ui.theme.SoftBlue
import com.billcorea.bluetooth627.ui.theme.SoftBlue40
import com.exyte.animatednavbar.AnimatedNavigationBar
import com.exyte.animatednavbar.animation.balltrajectory.Parabolic
import com.exyte.animatednavbar.animation.indendshape.Height
import com.exyte.animatednavbar.animation.indendshape.shapeCornerRadius
import com.exyte.animatednavbar.items.dropletbutton.DropletButton
import com.ramcosta.composedestinations.navigation.navigate

@Composable
fun BottomBar( naviController : NavHostController) {

    var selectedItem by remember { mutableStateOf(0) }
    AnimatedNavigationBar(
        modifier = Modifier
            .padding(horizontal = 4.dp, vertical = 4.dp)
            .height(90.dp),
        selectedIndex = selectedItem,
        barColor = SoftBlue,
        ballColor = SoftBlue,
        cornerRadius = shapeCornerRadius(25.dp),
        ballAnimation = Parabolic(tween(Duration, easing = LinearOutSlowInEasing)),
        indentAnimation = Height(
            indentWidth = 56.dp,
            indentHeight = 15.dp,
            animationSpec = tween(
                DoubleDuration,
                easing = { OvershootInterpolator().getInterpolation(it) })
        )
    ) {
        dropletButtons.forEachIndexed { index, it ->
            DropletButton(
                modifier = Modifier.fillMaxSize(),
                isSelected = selectedItem == index,
                onClick = {
                    Log.e("", "index = $index")
                    selectedItem = index
                    when (selectedItem) {
                        0 -> {
                            naviController.navigate(BottomMenuItems.Main.direction)
                        }
                        4 -> {
                            naviController.navigate(BottomMenuItems.Setting.direction)
                        }
                        else ->{

                        }
                    }
                },
                icon = it.icon,
                contentDescription = stringResource(id = it.description),
                dropletColor = Color.White,
                animationSpec = tween(durationMillis = Duration, easing = LinearEasing)
            )
        }
    }
}

enum class BottomMenuItems(
    val direction : DirectionDestination,
    @StringRes val label : Int,
) {
    Main(MainScreenDestination, R.string.Main),
    Setting(AuthorSettingScreenDestination, R.string.Setting),
}
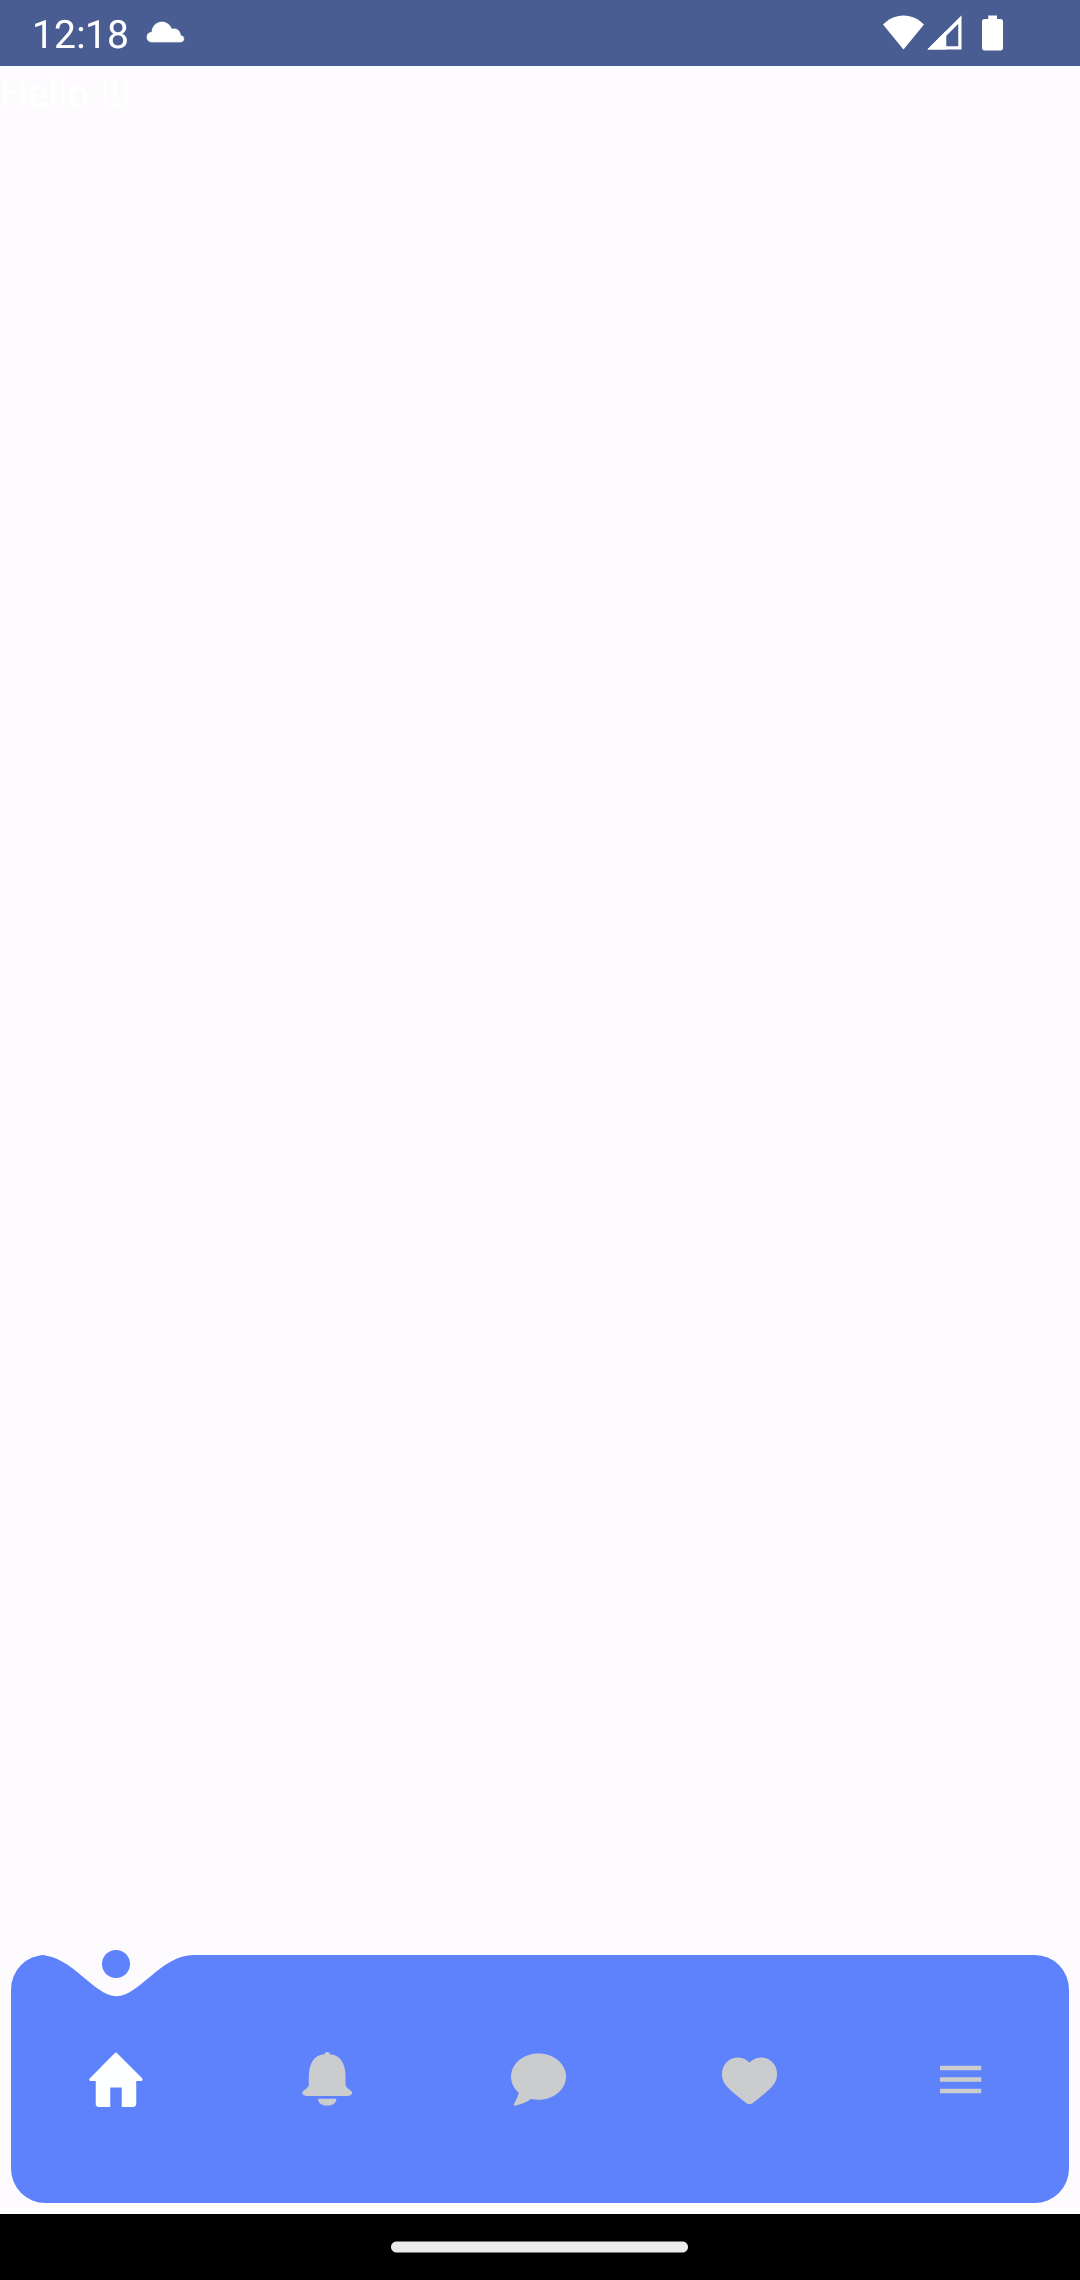
아직은 테스트를 위한 것이라 메뉴가 2개만 들어 있는 것 같은 느낌인 데, 실행해 보면 다음과 같이 구현이 되는 것을 알 수 있습니다.
이렇게 오늘도 따라 하기 코딩 하나를 해 보았습니다. 조금 아쉬운 부분은 네비게이션 구현을 함에 있어서 메뉴에 label 이 나오지 않는다는 것이 하단바 메뉴로 사용하기에는 부족한 부분이 아닐까 하는 생각을 해 보았습니다. 아무튼 오늘도 끝.
'모바일 앱(안드로이드)' 카테고리의 다른 글
| 안드로이드 앱 만들기 : FTP Clietn 만들어 보기, 백업 앱 만들기 (2) | 2023.07.10 |
|---|---|
| 안드로이드 앱 만들기 : navigator backStack 지우기 (2) | 2023.07.07 |
| 안드로이드 앱 만들기 : 동시에 시작하는 타원형 progress bar 구현해 보기 (6) | 2023.06.15 |
| 안드로이드 앱 만들기 : Nearby Connections 주변 기기와 간단한 통신 처리 방법에 관한 이야기 (8) | 2023.05.30 |
| 안드로이드 앱 만들기 : 제목도 잘 정해야... (21) | 2023.05.23 |